Email Us
nicoledai@sundi-wpc.com
Call us
+86-13357804798

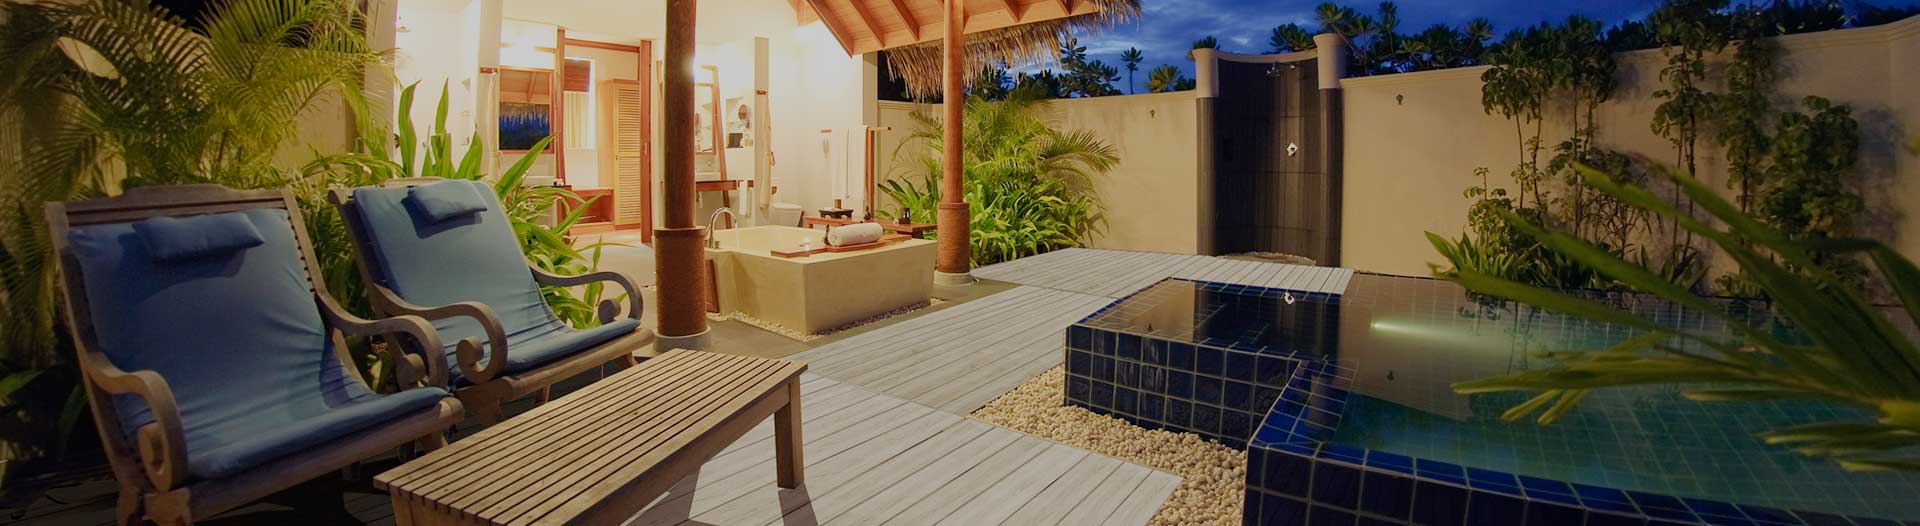
Installing a WPC railing system is one of the best ways to elevate your outdoor space. It offers the natural warmth of timber without the constant headache of sanding, painting, or sealing. Whether you are a seasoned contractor or an ambitious DIY enthusiast, this guide will walk you through the entire installation process for a flawless, long-lasting finish.
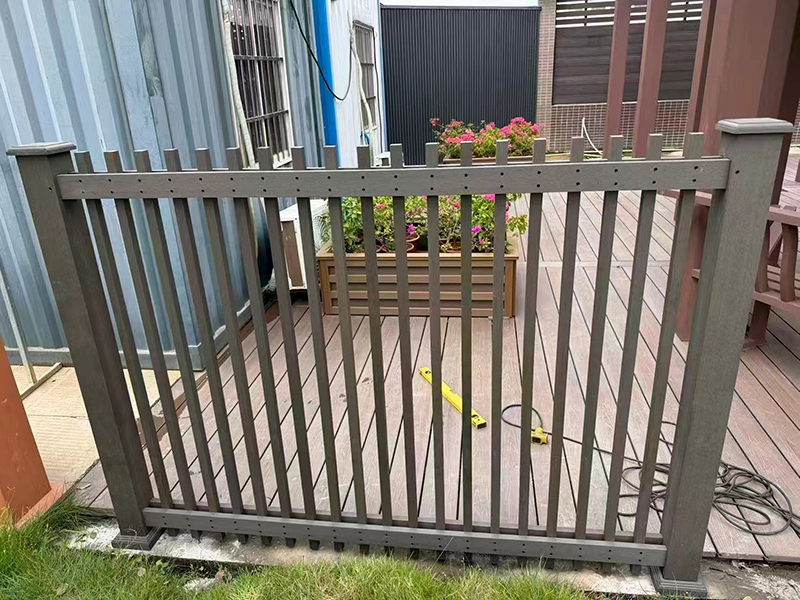
Step-by-step WPC railing post installation.
Prior to Installation: Always check your local building codes regarding railing height (typically 36 to 42 inches) and baluster spacing (usually less than 4 inches) before starting your project.
Before you begin, gather the following essentials:
Sundi WPC Railing Profiles (including top rails, bottom rails, and balusters)
Sundi Main Post Base Jointing (e.g., SDF120a) & Stainless Steel Cannula
Power drill and masonry drill bits
Level, tape measure, and miter saw (with a carbide-tipped blade)
Step 1: Foundational Layout
Mark the exact locations of your railing posts on the concrete deck or wooden substructure. Drill holes and secure the post base joints (such as the Sundi SDF120a Main Post Base) using expansion bolts. Ensure every post base is perfectly level—any slight tilt here will be amplified at the top of the railing.
Step 2: Column Setup
Slide the hollow WPC post sleeves over the secured steel post anchors. Push them down firmly until they sit flush with the base joint. If you plan to install post skirts, slide them on at this stage.
Step 3: Bottom Support
Measure and mark the height for the lower rail brackets on the WPC posts. Drill pilot holes into the posts and secure the metal mounting brackets. Ensure the bottom rail sits at least 2 to 3 inches above the deck surface to allow for easy cleaning.
Step 4: Baluster Integration
Insert the balusters (or upright tubes) into the pre-drilled holes of both the bottom and top rails. Many modern systems use a specialized inner cannula or tenon (like the Sundi SDF39x39 Baluster Tenon) for seamless connection.
Step 5: Final Lock
Slide the pre-assembled rail-and-baluster section into the bottom brackets. Secure the top rail to the upper post brackets. Finally, apply a small amount of outdoor-grade adhesive to the inside of the post caps and place them onto the top of each post.
After installation, proper WPC railing maintenance can help keep the railing clean and in good condition over the long term.

 English